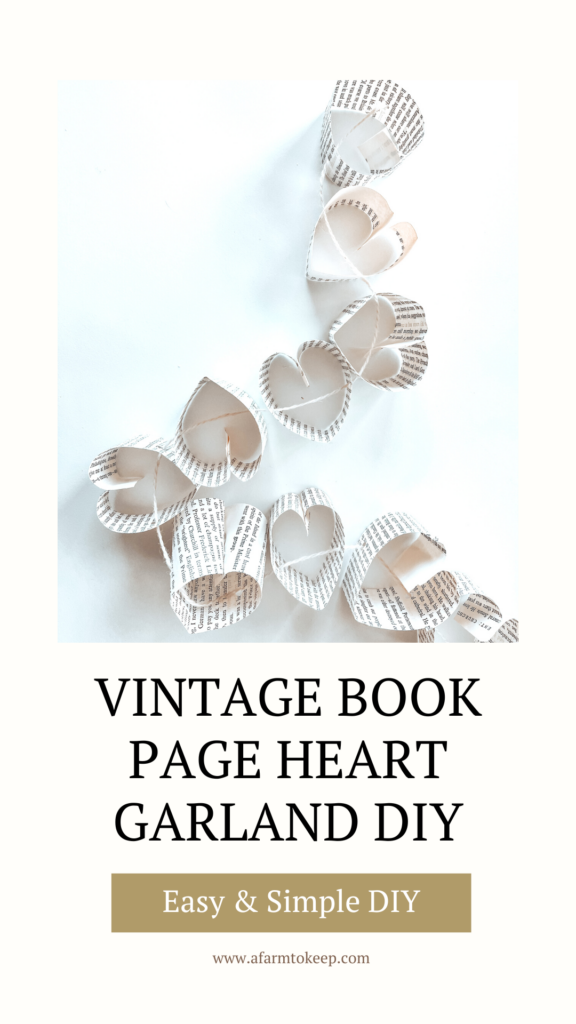
How to Make An Easy Book Page Paper Heart Garland
Create a neutral and cute paper heart garland from pages of vintage books. The best part about this easy and simple craft is that it comes together quickly and is a great way to reuse old books! Use your heart garland for Valentine’s day decorations, baby shower decor, anniversary decorations, or as a fun way to count down the days until a special event with your kids.
Where to find old books
The best place to start when looking for old books is your home. Check your shelves for books that may be damaged or you’re ready to part with. You can also find books at garage sales, vintage or antique stores, and your local thrift store. One of our favorite places to find books is at our local free libraries around town. Don’t be afraid to ask your friends and family for old books too. Many people have stacks of books they are ready to declutter. Old book pages give this craft project a unique look. You may also like to watercolor the pages before transforming them into paper hearts.
Select books that have damaged covers, that are losing their binding, or that the pages are detaching from the book spine. Look for book paper that is yellowed and aged but not brittle. Vintage children’s books and old chapter books are always great choices. You can also use different types of papers including scrapbook paper or other pretty papers you already have on hand if you don’t wish to use book pages.
Materials to Make the Paper Heart Garland
(The items linked below are affiliate links. I earn a small commission when you click and purchase through the links at no additional cost to you. Thank you for your support!)
A handful of book pages (at least 10-20 pages from a vintage chapter book that measures at least 5″x7″).
Piece of Twine at least 24″ long
Heart hole punch or regular hole punch
Optional: Paper cutter
The Simple Steps to Make the Book Page Paper Heart Garland
- First things, remove the pages from the book by tearing them out or cutting them along the book spine.
- Cut the book pages into 1″ thick strips and keep them the original length of the pages. If you want to have exact measurements, use a paper cutter, however, this is a great project to just eyeball the paper width. A plastic ruler is also always helpful for precise measurements. The varying widths add to the vernacular and charm of the finished product. Do your best to cut in a straight line along the paper.
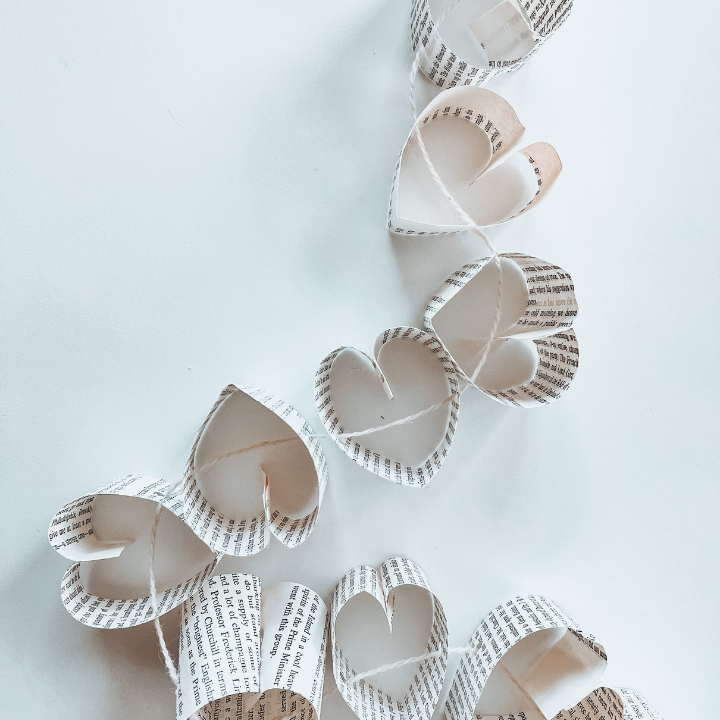
- Gently bring the two book paper ends to meet, as if you are going to fold the paper, but do not press or hard crease the paper. Pinch the two ends together with your fingers and with the hot glue gun, add a small pea-sized dab of glue to one of the book paper strip ends. Press the two ends together and gently shape the paper so it forms a heart shape. Pinch the bottom of the heart with your fingertips to create a more defined point.
- Hole punch each thick side of the paper heart. Trim any excess edges of the heart and set it aside.
- Continue to make more hearts following steps 3-4. Make as many hearts as you like.
- Once you have made enough hearts (at least 10) and have added hole punches to all of them, thread the twin through the hole punch holes to form your paper garland. Add each heart onto the garland every few inches of thread.
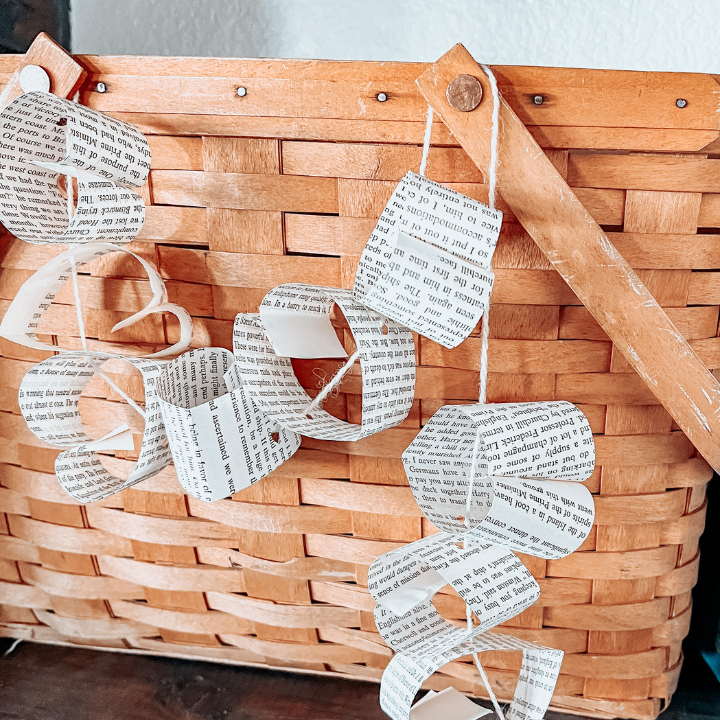
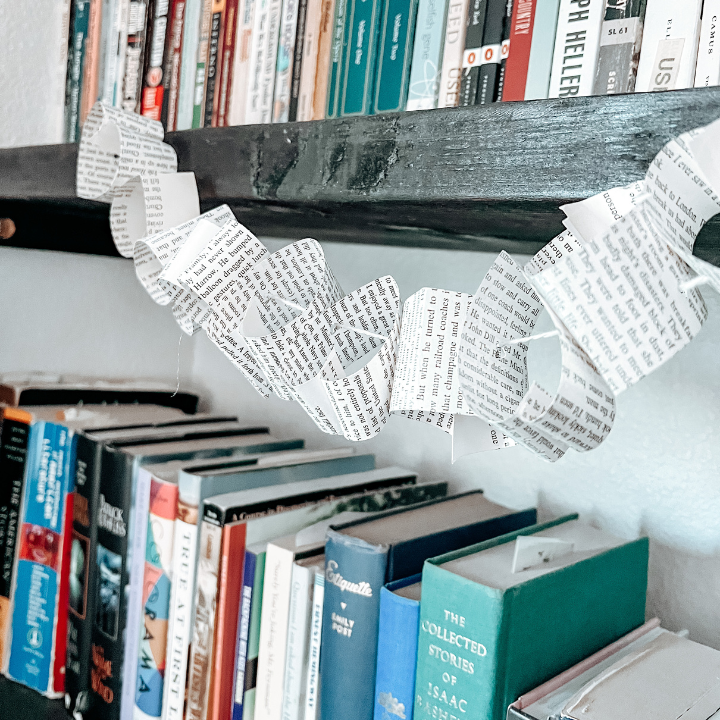
- After all of the hearts have been added to the garland, hang your garland in your dining room, along your fireplace mantle, or strewn them along a table.
Additions and Alterations
Add Color: If you desire to add color to your paper heart garland, consider painting the book pages with watercolor paints before assembling the paper hearts. Allow the paint to dry completely before crafting.
Adjust the Size: You can trim the strips of paper lengths to adjust the size of your hearts. Shorter strips will result in smaller hearts, while longer strips will result in larger hearts.
Recycled Felt: Instead of paper try using recycled felt strips for a whole new take on this simple DIY project.
Hang and Enjoy!
Find the perfect location to display your adorable vintage book page paper heart garland. Enjoy your garland for Valentine’s Day or just because. It will surely add a touch of easy whimsy no matter where it’s hung. Happy crafting!
Easy Vintage Book Paper Heart Garland

Create a neutral and cute paper heart garland from pages of vintage books. The best part about this easy and simple craft is that it comes together quickly and is a great way to reuse old books! Use your heart garland for Valentine's day decorations, baby shower decor, anniversary decorations, or as a fun way to count down the days until a special event with your kids.
Materials
- A handful of book pages (at least 10-20 pages from a vintage chapter book that measures at least 5"x7").
Tools
- Sharp scissors
- Hot glue gun
- Piece of Twine at least 24" long
- Heart hole punch or regular hole punch
- Optional: Paper cutter
Instructions
1. First things, remove the pages from the book by tearing them out or cutting them along the book spine.
2. Cut the book pages into 1" thick strips and keep them the original length of the pages. If you want to have exact measurements, use a paper cutter, however, this is a great project to just eyeball the paper width. A plastic ruler is also always helpful for precise measurements. The varying widths add to the vernacular and charm of the finished product. Do your best to cut in a straight line along the paper.
3. Gently bring the two book paper ends to meet, as if you are going to fold the paper, but do not press or hard crease the paper. Pinch the two ends together with your fingers and with the hot glue gun, add a small pea-sized dab of glue to one of the book paper strip ends. Press the two ends together and gently shape the paper so it forms a heart shape. Pinch the bottom of the heart with your fingertips to create a more defined point.
4. Hole punch each thick side of the paper heart. Trim any excess edges of the heart and set it aside.
5. Continue to make more hearts following steps 3-4. Make as many hearts as you like.
6. Once you have made enough hearts (at least 10) and have added hole punches to all of them, thread the twin through the hole punch holes to form your paper garland. Add each heart onto the garland every few inches of thread.
7. After all of the hearts have been added to the garland, hang your garland in your dining room, along your fireplace mantle, or strewn them along a table.
Notes
Add Color: If you desire to add color to your paper heart garland, consider painting the book pages with watercolor paints before assembling the paper hearts. Allow the paint to dry completely before crafting.
Adjust the Size: You can trim the strips of paper lengths to adjust the size of your hearts. Shorter strips will result in smaller hearts, while longer strips will result in larger hearts.
Recycled Felt: Instead of paper try using recycled felt strips for a whole new take on this simple DIY project.