
Growing Calendula for Natural Skin & Home Care
This article contains affiliate links. Please read our full disclosure page for details.

If you haven’t fallen in love with Calendula yet, get ready; you’re about to fall head over heels. With its vibrant, sunny blooms, Calendula is an excellent starter herb for budding gardeners and herbalists. This easy-to-grow annual ( Calendula officinalis) is a fantastic choice for beginners, as it’s relatively low-maintenance and readily self-seeds, often reappearing year after year. From sowing the seeds directly into the garden or starting them indoors for a head start, cultivating calendula is a rewarding experience. Beyond its ease of growing, calendula boasts a myriad of uses in homemade skin and home care. The flowers can be harvested and dried to create infused oils, salves, and tinctures, relieving minor skin irritations, cuts, and burns. Calendula’s gentle yet effective properties make it a valuable ingredient in homemade creams, lotions, and balms. Furthermore, the cheerful blossoms can even be used to create a natural yellow dye for fabrics or other craft projects, adding a touch of sunshine to your creations. Whether you’re a seasoned gardener or just starting your herbalism journey, calendula is a versatile and rewarding plant to cultivate and explore. This article shares the full process of growing calendula, harvesting, drying, and storing the flowers for use in homemade home and body care.
Getting Started: Growing Calendula
Calendula is an easy plant to grow, thriving in containers and garden beds, making it an excellent choice for beginner gardeners. While it’s a hardy and resilient plant, Calendula has particular specific needs, like any plant, that help it to thrive in the garden.
Choosing Seeds or Calendula Starts
Calendula readily grows from seed, so much so that established plants often self-seed, reappearing year after year. Whether you choose to start with seeds or purchase seedlings (also called “starts”) from a local garden center in the spring, you’re likely to have success. Starting from seed is generally the more economical option.

Starting Seeds Indoors (Recommended when growing calendula for earlier blooms):
- Seed Starting Mix: Use a seed-starting mix, not regular potting soil, as it’s lighter and provides better drainage for delicate seedlings. Fill seed trays or small pots with the mix.
- Sowing Depth and Spacing: Plant the seeds about ¼ inch deep and space them a couple of inches apart in the tray or pot.
- Light and Moisture: Place the trays or pots in a sunny window or under grow lights. Consistent moisture is key; keep the soil damp but not soggy. Germination: Seedlings should emerge within 7–14 days.
- Thinning: Once the seedlings have a few sets of true leaves, thin them out, leaving only the strongest seedling in each cell or pot. This prevents overcrowding and ensures each plant has enough room to grow.
- Hardening Off: Before transplanting the seedlings outdoors, you’ll need to “harden them off.” This process gradually acclimates them to outdoor conditions. For about a week before transplanting, place the seedlings outdoors in a sheltered spot for a few hours each day, gradually increasing the time they spend outside. Protect them from direct sunlight and strong winds initially.
Direct Sowing Into the Garden (Suitable for warmer climates):
If your climate allows, you can sow calendula seeds directly into the garden:
- Preparing the Soil: Choose a sunny spot with well-drained soil. Amend the soil with compost or other organic matter to improve its fertility.
- Creating a Furrow: Create a shallow furrow in the soil about ½ inch deep.
- Sowing Seeds: Press the seeds into the furrow, spacing them about 4–6 inches apart.
- Covering and Watering: Cover the seeds with a thin layer of soil or compost. Water thoroughly and keep the soil consistently moist until the seeds germinate.
- Thinning: Once the seedlings have a few sets of true leaves, thin them out so they are about 8–16 inches apart. This will give them enough room to grow and prevent overcrowding.

When to Start Growing Calendula Seeds
Sow the calendula seeds indoors 6-8 weeks before the last frost. Transplant starts just after the last frost date has passed. If you are directly sowing into the garden, plant the seeds one week before the last frost date. One to two frosts will harden the seeds and help the plant grow healthy and strong.
Tips
- Sunlight: Calendula prefers full sun (at least six hours daily) but tolerates partial shade, especially in hot climates.
- Soil: Calendula thrives in rich, well-draining soil. Amend with compost or other organic matter before planting. Good drainage is essential to prevent root rot.
- Container Gardening: Calendula grows well in containers (window boxes, planters, hanging baskets). Use pots at least 8-12 inches wide and a quality potting mix. Container plants dry out faster, so water more often.
- Self-Seeding: Calendula readily self-seeds, creating new plants the following year. Collect seed heads before they mature if you want to control their spread.
- Deadheading: Deadheading (removing spent flowers) encourages continuous blooming. Snip off flower heads below the bloom. Regular deadheading keeps plants tidy and productive.

Natural Pest Management When Growing Calendula
Several common garden pests, including aphids, whiteflies, and thrips, can sometimes be found feeding on calendula. If you notice these pests on your plants, there are a few practical ways to manage them:
- Hand-picking: For small infestations, simply hand-pick the pests off the plants.
- Insecticidal Soap Spray: Make a mild insecticidal soap spray by mixing a few drops of dish soap (not detergent) with water. Thoroughly spray the affected areas, ensuring the pests are coated. This will help to suffocate them. After a few hours, or the next day, rinse the plants with clean water to remove any remaining soap residue and dead pests.
Preventing pest problems is often easier than treating them. While calendula appreciates consistent moisture, it’s crucial to avoid overwatering. Consistently soggy soil can attract more pests and create conditions that favor root rot, a fungal disease that can be fatal to the plant. Allow the top inch or two of soil to dry slightly between waterings to maintain a healthy balance. Healthy plants are generally more resistant to pests and diseases, so providing proper care, including adequate sunlight and well-draining soil, is essential for keeping your calendula thriving.
Harvesting and Drying Calendula Flowers
Harvesting Calendula Flowers
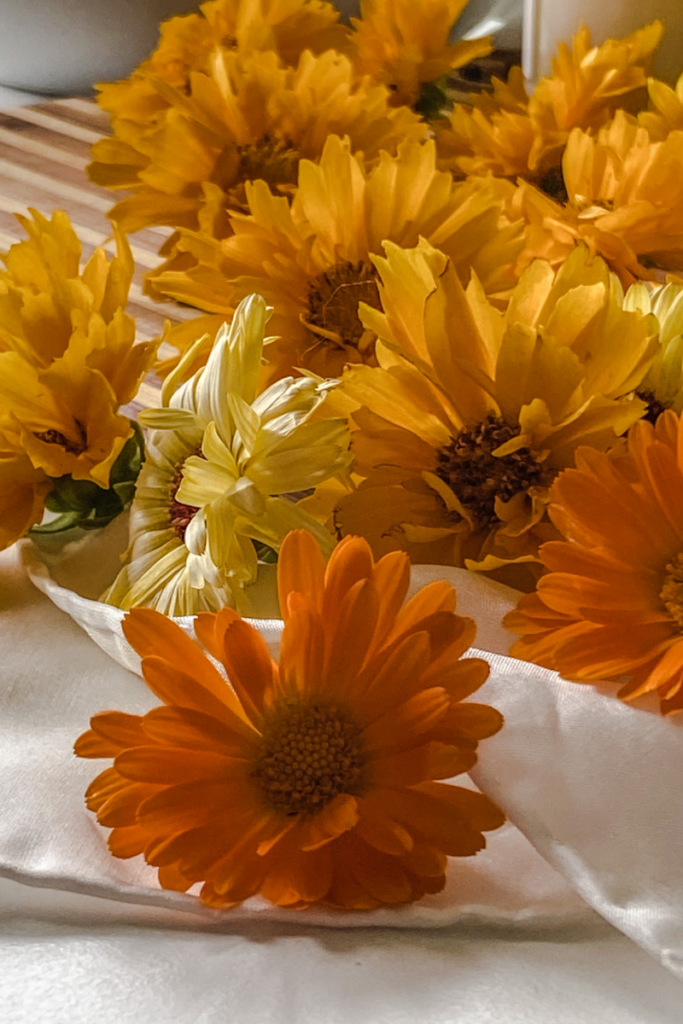
Harvesting and drying calendula flowers is a simple process. The best time to harvest is in the morning after the dew has dried but before the sun gets too hot. Choose flowers that are fully open and have well-developed petals. Using sharp scissors or pruning shears, clip the flower heads at the base of the stem, just above where it joins the plant. You can leave a short stem attached or remove it entirely—it’s a matter of personal preference.

Drying the Flower Heads
Once harvested, place the blossoms face down on a drying rack. A screened tray, a wicker basket lined with paper towels, or even a clean, dry cloth laid on a table will work well. The key is to ensure good air circulation around the flowers to prevent mold growth. Avoid overcrowding the flowers on the drying rack.
Drying & Storing Calendula Flowers
The Process
Using Your Dried Calendula

The possibilities are endless now that you have a beautiful supply of dried calendula flowers! One of the most popular ways to use dried calendula is in skincare, but there are several more ways to enjoy calendula in your home. Below is a list of some of our favorite recipe projects involving calendula.
- Calendula salve for soothing skin: This salve is excellent for minor cuts, burns, rashes, and other skin irritations
- Calendula Infused oil: This oil can be used as a moisturizer or incorporated into other skincare products.
- Create a Natural Yellow Dye: Imagine the beautiful yellow hues you can achieve using dried calendula flowers to make a natural dye for fabrics or other craft projects.
- Calendula-Infused Wood Butter: Hydrate wooden utensils with this simple yet effective hydrating wood butter.
